How to tunneling SSH on Windows
Before we start, prepare for needed things
1.Bitvise SSH Client (download)
2.Proxifier (download)
3.Make sure you has been created free SSH Account on www.vpnjantit.com if you don’t have account yet, you can go to How To Create Free SSH Account.
After you got all needed things, go to first step
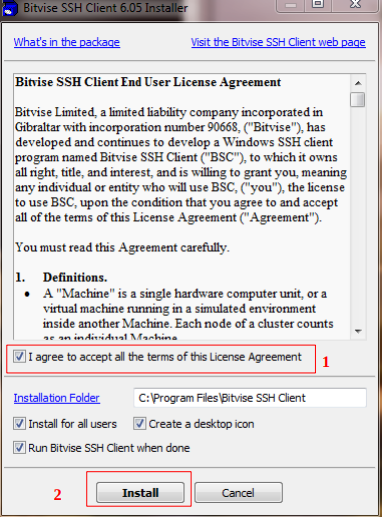
1.First, Install Bitvise SSH Client (Check I Agree….) then click Install and wait the installation until finish
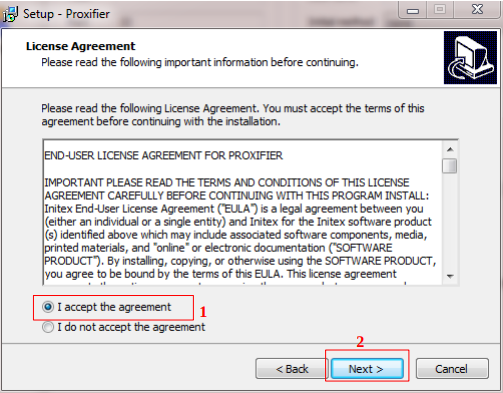
2. Install proxifier. Right click, then choose run as admininstrator, then install. Click I accept … button then click Next until finish
3.Open Bitvise SSH Client
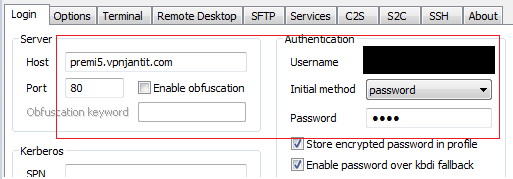
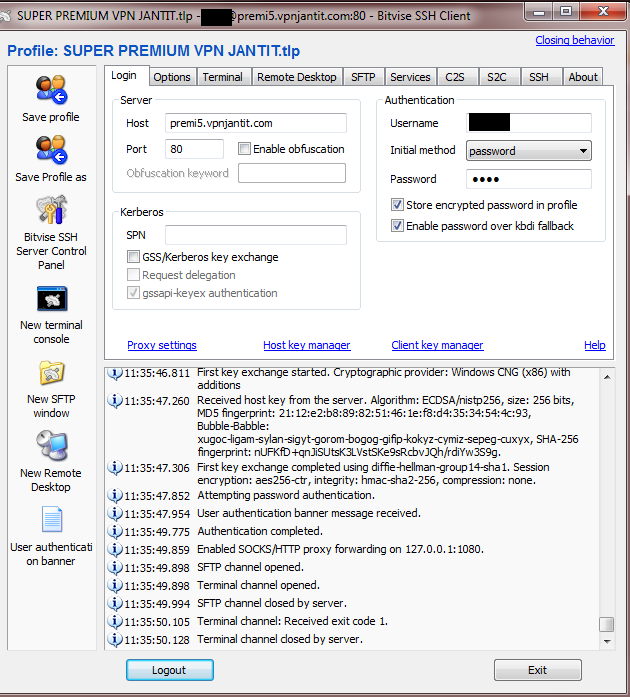
4.Enter SSH username, host, port and password
which you has been created before.
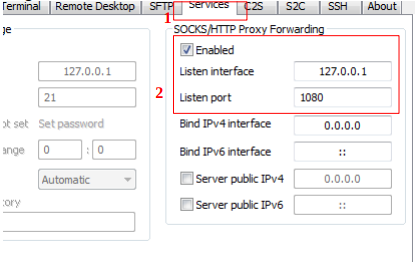
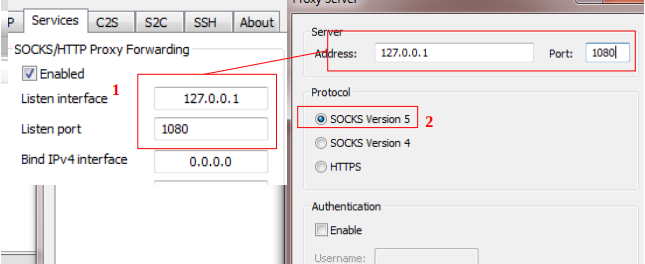
5.In Bitvise SSH Client, Click Services tab , Check SOCKS/HTTP Proxy Forwading, and do the same things like this picture below.
6. Click Login in Bitvise SSH Client, then choose accept and save so it will be look like this picture below
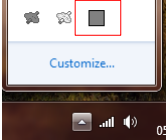
7. After that, open Proxifier. If not appear, look at hidden items in taskbar. Then click
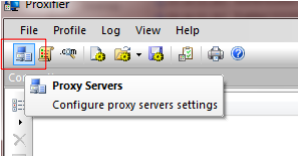
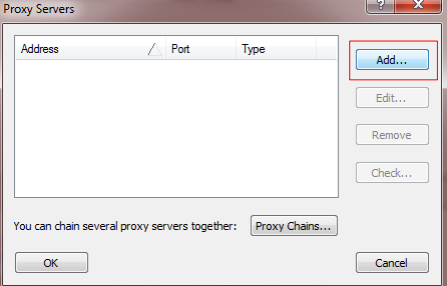
8. In Proxifer windows, click Proxy Servers icon
9. Click Add
10. Fill like this picture below(Same as Bitvise SSH Client Setting),Click OK, then YES.
 11. Enter Program which will use SSH connection. Click icon in this picture below
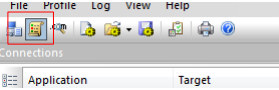
12.Click Add
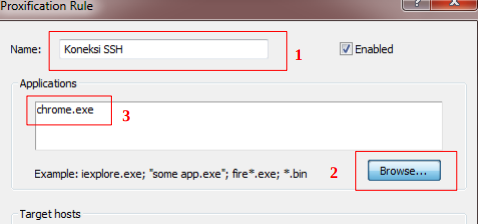
 13.Fill Name (up to you), in Application, click Browse and find executable file( .exe) of the program which will use SSH connection.
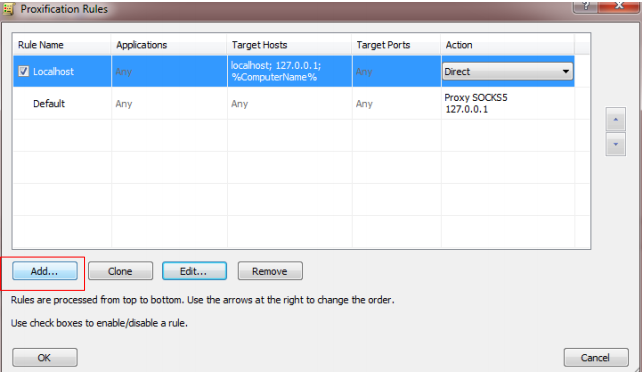
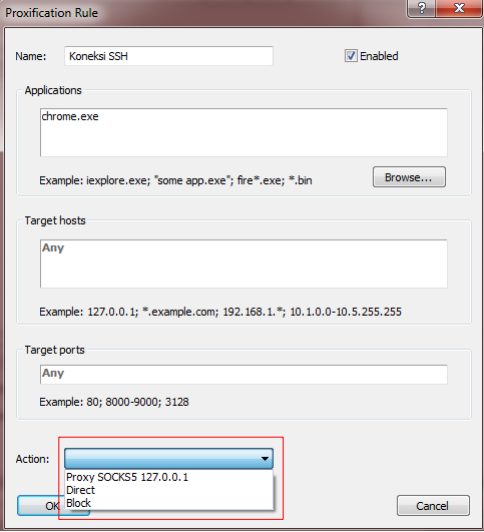
14. In Action , click and choose Proxy SOCKS5 127.0.0.1 (same as Bitvise SSH Client setting) then click OK.
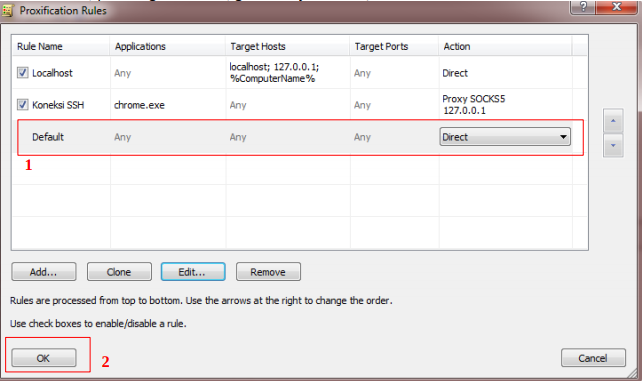
15. Change default setting. Choose Direct, then click OK.
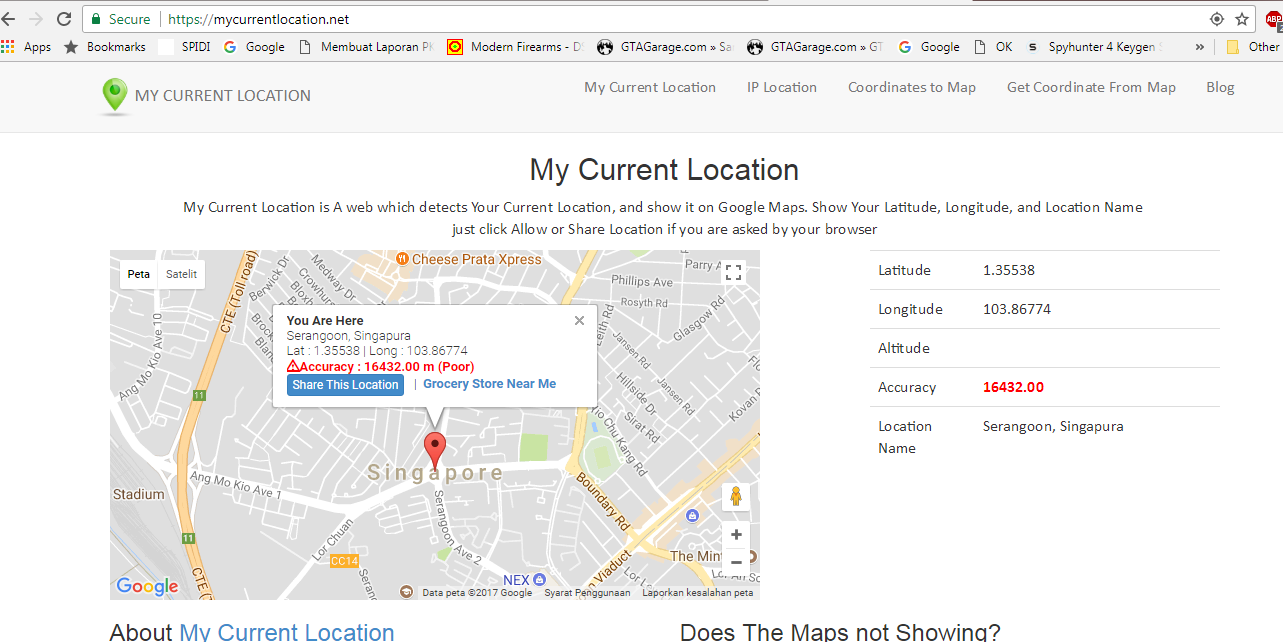
16. Now try to browsing internet with Google Chrome. If your location now show up in Singapore, it’s mean you have been successfully using SSH. Congratulation!